This week I had the privilege of making some cupcakes
(well, actually it was A LOT of cupcakes) for my nephew's wedding luncheon.
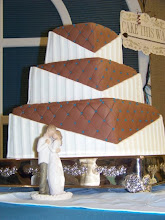
It all started at 8:00 in the morning with this CUTE couple...
(My nephew Ronnie and his beautiful new bride, Taylor)
They made a promise to Love each other for time and all Eternity in the
Salt Lake LDS Temple.
It was a beautiful ceremony, and a wonderful time.
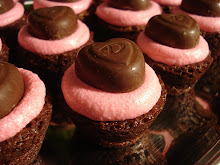
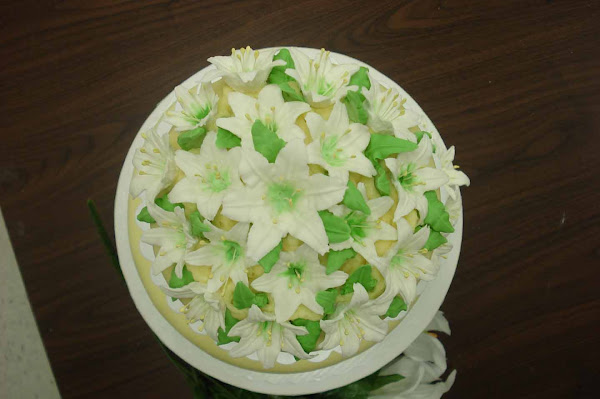
After the wedding they had a marvelous wedding luncheon. This is where my cupcakes made their debut. I made Oreo Cupcakes (which were to die for, by the way), Zucchini Cupcakes with a Caramel Frosting, Yellow Cupcakes topped with a Lemon Whipped Cream Frosting, and last but not least... I made White Cupcakes that were filled with a Raspberry filling and topped with a Raspberry Whipped Cream Frosting.
(There were so many wonderful people there to help set them up)
The cupcakes were all so good! I do have to say that the Oreo Cupcakes were my favorite. A lot of people at the luncheon would have to agree with me, but people LOVED all of them.
_______________________________________________________
I have had a lot of requests for the Oreo Cupcake recipe, so I will post it for you to enjoy. I can't take all of the credit for them, because I got the recipe here . This recipe was posted by someone by the name of FoodSnots, and the recipe was called "Death By Oreo Cupcakes". After reading the MANY reviews, I had to give them a try. And now you can too....
DEATH BY OREO CUPCAKES
Ingredients
1 package Oreo Cookies, regular size
1 package Mini Oreo Cookies, for decoration (optional)
1 package chocolate cake mix (mix according to directions on box)
8 ounces cream cheese, room temperature
1/2 cup butter (1 stick), room temperature
3 3/4 cups powdered sugar
1 teaspoon vanilla extract
cupcake liners
Preheat oven to 350 degrees. Mix packaged cake mix according to directions (do not bake). Line cupcake tins with liner, place a regular size Oreo cookie in the bottom of each liner. Take 1/2 of remaining cookies and chop coarsely and add to cake mix. Fill the cupcake tins. Bake for 15 minutes (or according to box directions). While cupcakes are baking make the frosting.
Cream together butter and cream cheese. Add vanilla, then add powdered sugar slowly until blended well. Chop remaining regular-sized Oreos very fine (I put the cookies in the food processor instead of trying to chop them up super fine and it worked out really well). Add to frosting. After cupcakes have cooled frost and decorate with Mini Oreos.
Congratulations to Ronnie and Taylor.
It was fun being a part of your big day!!!